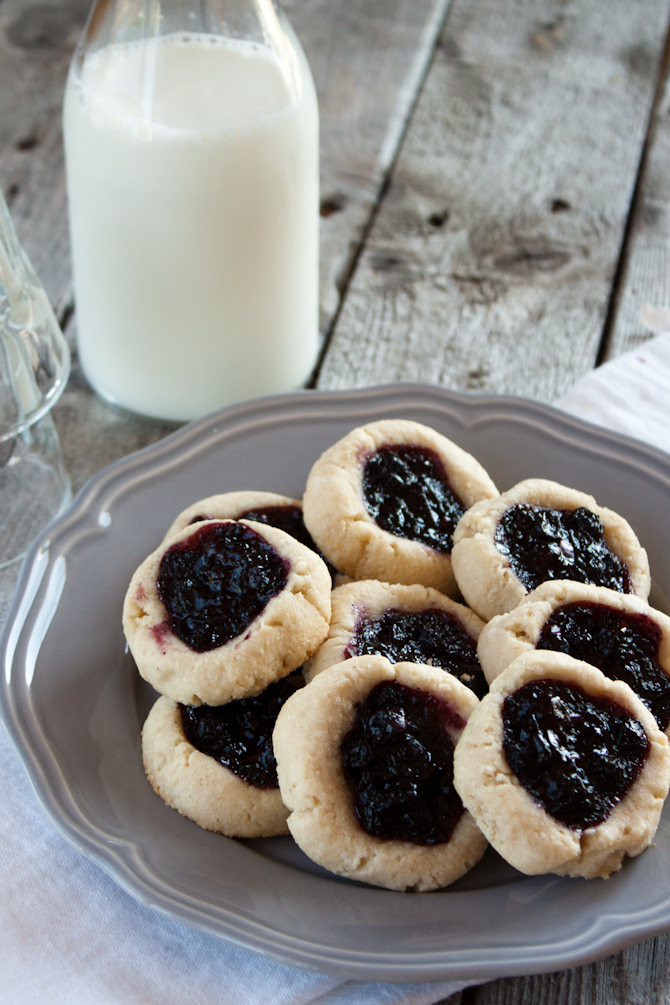
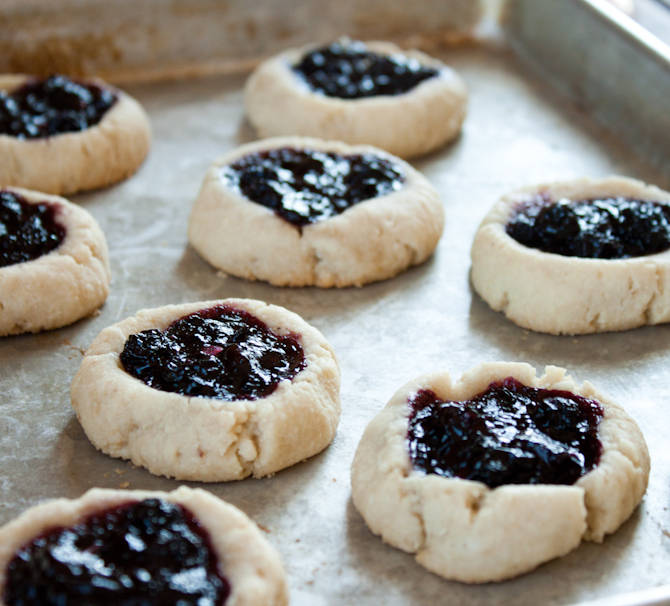
 Soft, chewy, gooey, blueberry bliss all wrapped up into one petite cookie. Shall I even mention healthy? If you can put dessert and healthy in the same category, but we will leave that debate for another conversation and just roll with it. But seriously, these turned out better than I imagined.
Let’s be honest, I’ve not had great success in the cookie category before. Like epic fail, time and time again. Some are edible, just not pretty. Others are neither. So I must tell you that I am pretty proud once I finally got these to turn out. To be completely honest, the thumbprint was a last ditch effort after I threw my arms up when the shape I was originally going for kept failing. I gave up, rolled the dough into balls, pushed the center in and filled it with the gooey blueberry filling popped it in the oven and 20 minutes later when the timer went off, I looked in the oven and it felt like my jaw could have hit the ground. I believe I yelled B-E-A-U-T-I-F-U-L out loud ->embarrassing<- !
They were prefect, tears of joy now welling in my eyes (okay that part really didn’t happen, although being 39 weeks pregnant and overly hormonal it sure could have). These beautiful blueberry thumbprint cookies sat before my eyes and turned out to be one of my new found favorite cookie recipes. Seriously, it is a good thing I finally got fed up with the triangular shape / hand pie thing I was originally shooting for because you would have never gotten this recipe on the blog.

Let alone being beautiful, did I mention how chewy and gooey these things are? Drool! For real guys, these are delicious and that blueberry filling, well besides for spooning it straight into your mouth and putting it in the center of these cookies there are numerous other things you could do with it. Try topping it on this porridge or how about on pudding? You could even get a little frisky and plop some on a burger.
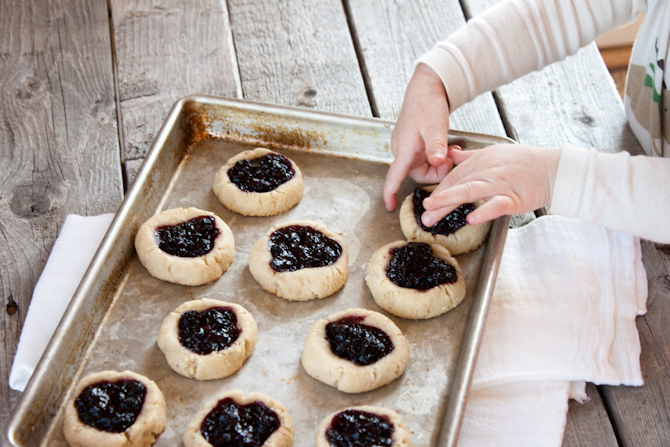
These were so delicious that the little hands in our house obviously had a hard time waiting for me to snap some pictures. The children and the hubby are officially over me being a food blogger. To them, pictures are not necessary, they would rather just eat every last bite. A little sampling won’t hurt, right? Turns out these little hands loved the blueberry filling more than the cookie. I later found the plate of cookies I sat on the table licked clean of blueberry filling, cookies left intact. Unfortunately, I found evidence on the culprit’s face. But seriously, how could you discipline that? I certainly couldn’t blame her.

Now go turn your oven on and get bakin’!
- Filling:
- 2 cups blueberries
- 1 Tbsp Maple Syrup
- ¼ cup Water
- ¼ cup Lemon Juice
- ½ tsp Nutmeg
- 1 tsp Cinnamon
- 1-2 Tbsp Arrowroot Powder
- Cookie:
- 2 cup Blanched Almond Flour
- 1 cup Arrowroot Powder, plus ½ cup for dusting
- 1 tsp Salt
- 1 tsp Pure Vanilla Extract
- ⅓ cup Maple Syrup
- ¼ cup Organic Coconut Oil, melted
- In a medium sized sauce pan, add the blueberries, syrup, water, lemon juice, nutmeg and cinnamon. Heat over medium heat.
- Bring filling to a boil, while stirring. Continue to stir frequently, while "mashing" the filling with a wooded spoon.
- Once the liquid has reduced, turn heat down and add arrowroot powder. Stir continuously until thickned. Remove from heat and set aside for filling the cookies. Can add additional ½ cup blueberries if desired.
- Preheat oven to 350 degrees.
- In a large mixing bowl, stir together the almond flour, arrowroot, and salt.
- Add in the vanilla extract, maple syrup, and melted coconut oil. Stir until all ingredients are combined and you have a ball of cookie dough. **You can use your hands for this as well.
- Prepare a baking sheet lined with parchment paper.
- Take a small ball of dough and roll until about the size of a ping-pong ball. Use extra arrow root powder when working with the dough if necessary.
- Place on cookie sheet and press thumb into center making a well.
- Add about a teaspoon (give or take) of filling to the center of the cookies.
- Repeat until all dough has been used.
- Place in the oven and bake cookies for 20 minutes.
- Remove from oven and place on a cooling rack.
- **Any remaining filling can be refrigerated or frozen and saved for future use.
